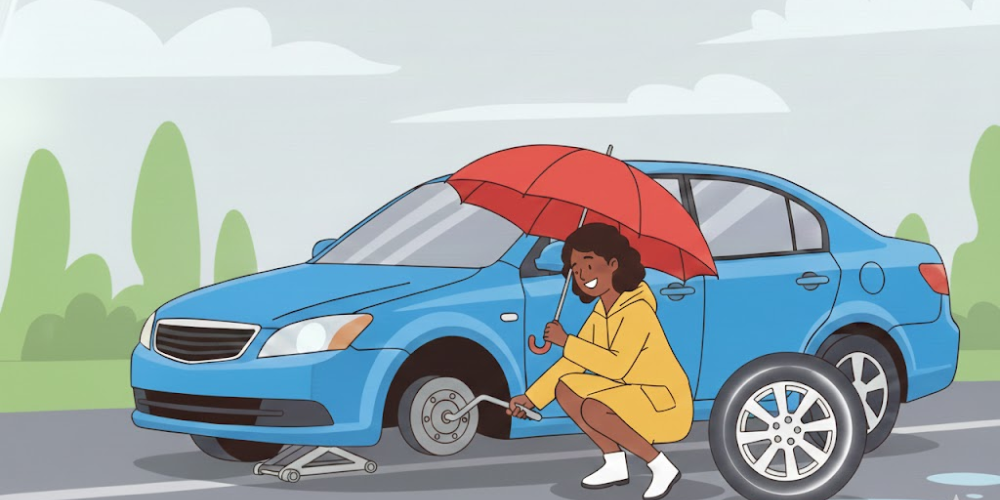
A flat tyre always picks the worst possible moment. Late for work, raining, phone battery on 12% and you’re mid-way between work and home when you realise that the car isn’t driving right. Pullover to check and as you look down, you see the problem. The tyre’s gone all out of shape – classic! The good news? Changing a flat tyre is easier than it looks, as long as you take it step by step and haven’t taken out the toolkit that comes in the boot.
Here’s a very simple guide to help you get back on the road.
Step 1: Stop somewhere safe
If you realise you have a flat tyre while driving, don’t stop suddenly. Slow down and move to a safe, evenly-surfaced spot away from traffic. Even driving a short distance on a flat tyre is okay if it means staying safe.

If you’ve parked somewhere alongside the road, turn on your hazard lights. Preferable, find an empty lot to pull into and follow these steps:
- Put the car in Park (or in gear if it’s a manual)
- Pull the handbrake firmly
- If you have a solid object, such as a brick or piece of wood, place it in front of and behind a tyre on the opposite side of the car.
These are important steps to stop the car from rolling.
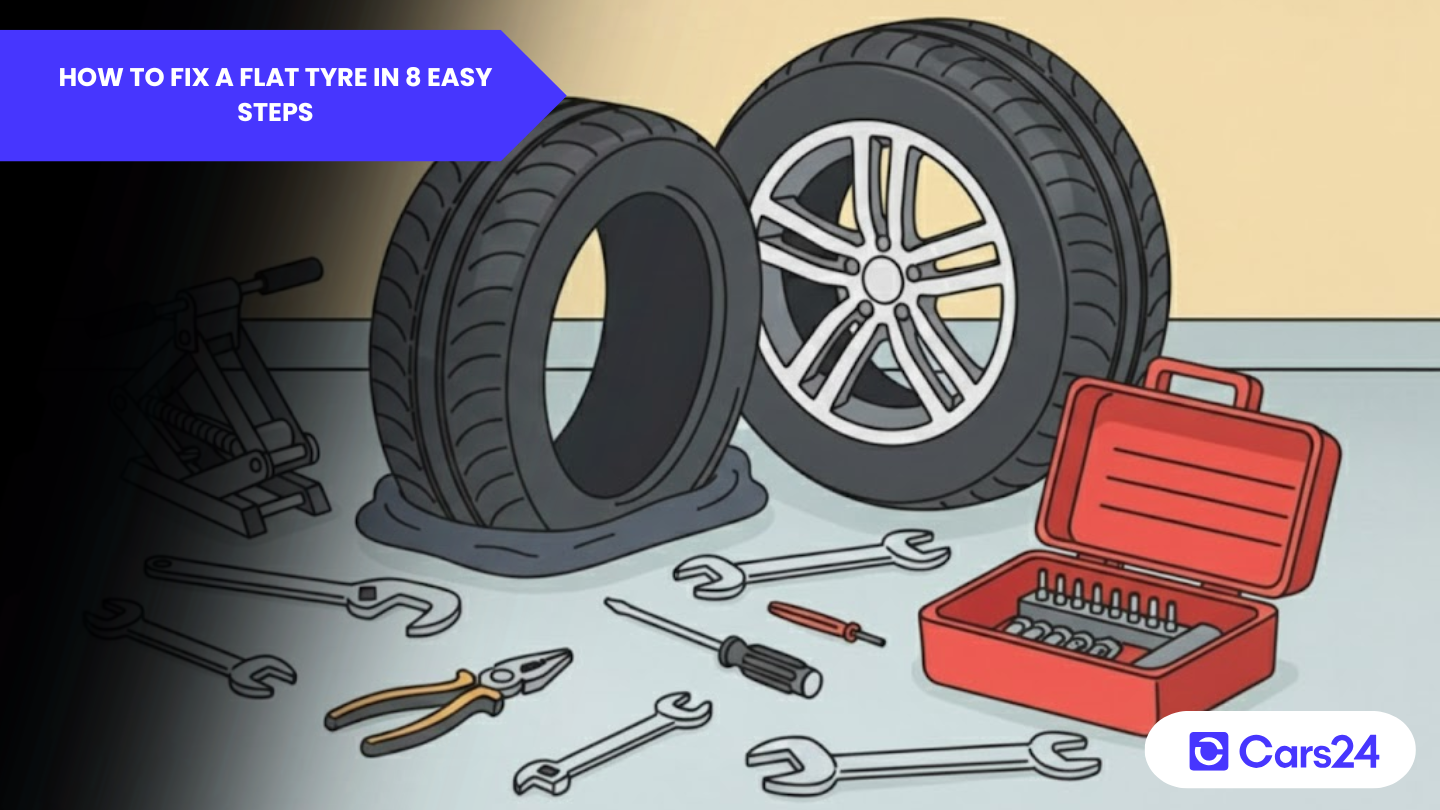
Step 2: Grab the tools

Most cars come with everything required to change a tyre. Check the boot, under the removable boot floor/lining for the following items:
- A jack
- A wheel brace or nut wrench
- A spare tyre
In case some of these tools are not found under the boot floor, check the sides of the boot as some carmakers may place them in concealed compartments to optimise luggage space.
You would have gotten a booklet of documents upon buying the car which would have included the owner’s manual. This manual shows you the correct place to position the jack — this is important, as using the jack to lift the car from the wrong spot can cause damage or make the car unstable when lifted.
Step 3: Loosen the wheel nuts (before lifting the car)
Before you jack the car up, slightly loosen the wheel nuts on the flat tyre.
- Fit the wheel brace onto a nut
- Turn it anticlockwise
- Keep your back straight and use steady pressure
If they’re tight, you can apply your body weight to the wrench. Just loosen them, don’t remove them yet! This helps to get leverage on the nuts which would be impossible to do with the wheel in the air.
Step 4: Jack the car up
Place the jack under the correct jacking point and slowly lift the car until the flat tyre is about 5–6cm off the ground. Ensure the car feels stable before proceeding.
Step 5: Remove the flat tyre
Now fully remove the loosened nuts and place them somewhere safe (so they don’t roll away). Grip the tyre on either side and pull it straight off. You might need to apply pressure to the top or bottom sections first to ease it off the hub before being able to lift the wheel off entirely. Place the wheel with the flat tyre in the boot; you’ll need to repair or replace it later.
Step 6: Fit the spare tyre
Align the spare wheel with the wheel studs or holes, then slide it into place.
- Screw the nuts on by hand first
- Tighten them lightly with the wheel brace (don’t fully tighten yet)
Starting with the bottom nut helps hold the wheel steady. In case your car comes with a slimmer spare tyre, called a space-saver, be sure to ready any instructions that might be attached to it regarding the fitment of the wheel.
Step 7: Lower the car and tighten the nuts
Slowly lower the jack until the car is back on the ground, then remove the jack. Now use the wheel brace to firmly tighten all the nuts. They should be secure, but don’t apply too much pressure.
Put all tools back in the boot. The job is almost done!
Step 8: Check the spare tyre pressure
If you have a tyre pressure gauge, check the spare. If not, drive carefully to the nearest servo and inflate it to the recommended pressure (listed in your owner’s manual or inside the driver’s door). If you’re using a space-saver spare, please remember:
- They’re not built the same as the other tyres on your car
- Usually limited to a top speed of 80km/h
- Replace it with a proper tyre as soon as possible
What if your car doesn’t have a spare?
Some newer cars come with a puncture repair kit instead of a spare tyre. These kits can seal small holes caused by nails or screws.
They usually include:
- A sealant bottle
- A small air compressor
This is only a temporary fix to help you get to a more suitable location and avoid being stranded; ensure the tyre is repaired or replaced as soon as possible. If the tyre damage is large or the kit doesn’t work, roadside assistance is your best option.
When to call Roadside Assistance?
Not everyone feels comfortable changing a tyre, and that’s okay. If:
- You’re on a busy road or unsafe location
- The tyre is badly damaged or stuck
- The wheel nuts are too tight to remove
…then it’s better to call roadside assistance rather than risk injury or further damage.
Most services, like NRMA, RACV, or local providers, can help you get back on the road quickly. Keep their number saved in your phone or use the provider’s app for faster service.
Final advice
Changing a tyre isn’t complicated. All you have to do is stay safe and calm. Take your time, follow the steps, and don’t hesitate to ask for help if something doesn’t feel right.
Safe travels and keep your spare handy!
Comments
New Comment