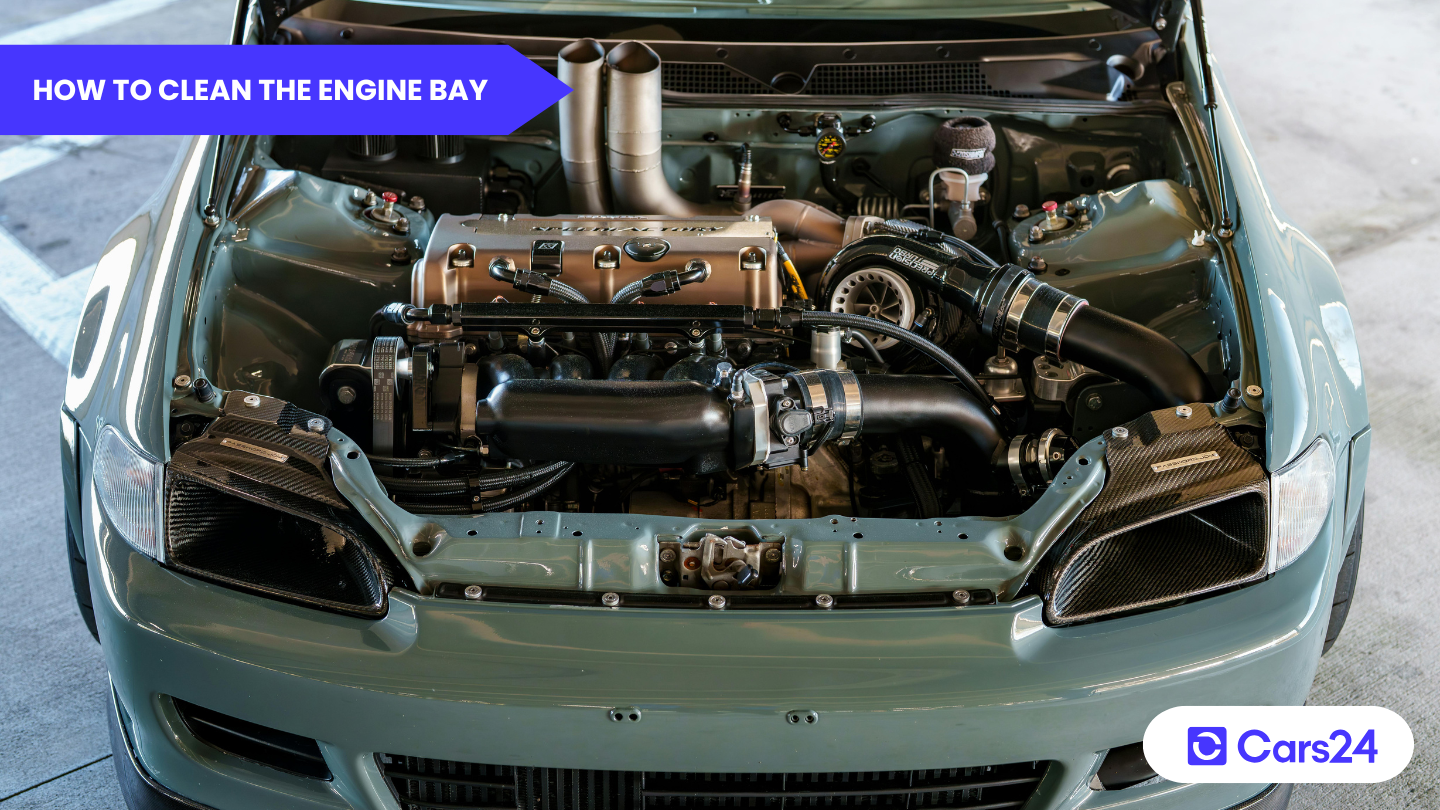
Why cleaning the engine bay matters?
To clean an engine bay safely, let the engine cool for 30-45 minutes, cover sensitive electrical components, apply a biodegradable degreaser, rinse using low-pressure water, and dry thoroughly before restarting the engine. In Australia, it’s also important to avoid chemical runoff into stormwater drains and keep water away from hybrid or EV high-voltage components.
If you’ve ever popped the bonnet on a car that’s done 100,000 kms across the outback or the city grind, you know what neglect looks like. A thick layer of grime, road salt, oil residue and even a spider’s nest. The combination of summer heat, red dust, and coastal humidity makes cleaning your engine bay not a luxury but a genuine car care necessity.
A clean engine bay runs cooler, makes fluid leaks easy to spot early and impresses any mechanic or buyer who takes a look. Whether you drive a Hilux, a Commodore or an i30, you should know how to clean an engine bay properly.
What you’ll need
Before you start cleaning, pick the right gear. Using the correct engine cleaner and tools is the difference between a professional result and a patchy job.
- Engine cleaner/degreaser
Water-based, biodegradable formulas are best because they are safe on painted surfaces, rubber hoses and plastic covers.
- Stiff bristle brushes
A set of detailing brushes in various sizes lets you get into tight corners around the firewall and intake.
- Plastic bags and tape
Cover the battery, fuse box, alternator and any exposed air intake before any water gets near them.
- Garden hose or low-pressure washer
A gentle stream is all you need. High pressure can force water into sensitive electrical components.
- Microfibre cloths
For the final wipe-down after rinsing. Leave everything spotless and lint-free.
- Gloves and eye protection
This can irritate skin and eyes; always work safely.
Tip: Look for engine cleaners rated biodegradable and greywater-safe. Several councils across NSW, VIC and QLD have restrictions on the use of washing chemicals that enter stormwater drains. A quality water-based engine cleaner ticks both the performance and compliance boxes.
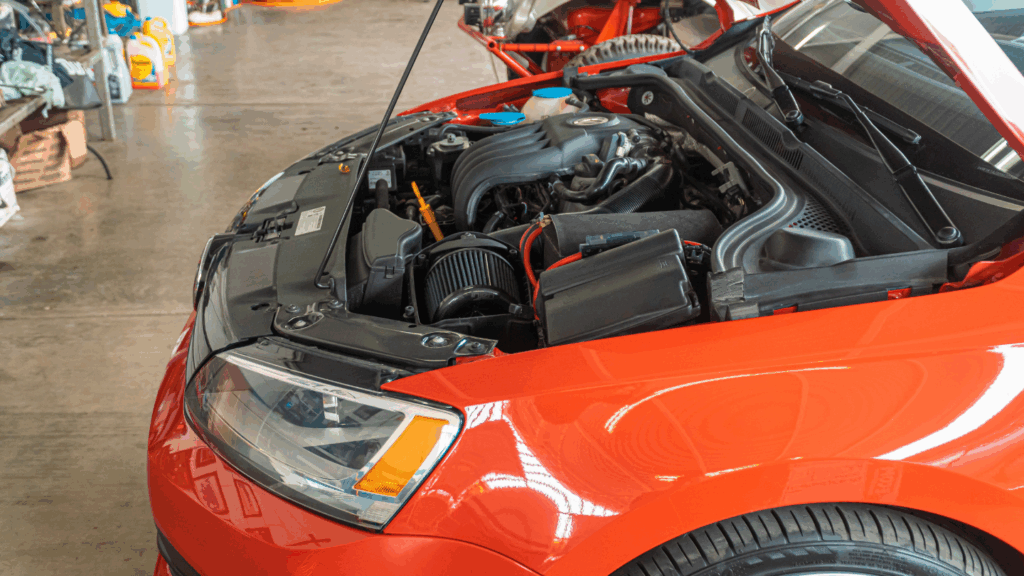
Step-by-step guide: How to clean your engine bay
Follow these steps and you will get results that look straight out of a detail shop, without a heavy price tag.
Step 1: Let the engine cool completely
Never spray cold water or engine cleaner onto a hot engine. This can cause thermal shock, which can crack plastic components and warp metal brackets.Park the car, pop the bonnet and wait for at least 30-45 mins after driving. In Australia’s summer heat, find a shaded spot for this step.
Step 2: Protect electrical components
Use plastic bags and tape to cover the battery terminals, alternators, fuse box and any visible wiring looms. Tuck the edges securely. This single step prevents the most common engine bay cleaning disasters.
Step 3: Apply your engine cleaner
Spray the engine cleaner generously across the engine, working from the back of the bay toward the front. Most good degreasers need 3-5 minutes of dwell time to break down grease and carbon build-up.
Step 4: Agitate with brushes
This is where cleaning your engine bay becomes an art. Use your brushes to scrub around the valve cover, the coolant reservoir, the brake fluid cap and along the firewall. Circular motions on flat surfaces, back and forth strokes in crevices. The engine degreasing process is only as good as the agitation you put in.
Step 5: Rinse with low pressure
Use a garden hose on a gentle setting, but never a high-pressure jet washer directly on the engine. Work from the top down, rinsing away loosened grime and degreaser. Make sure all the cleaner is removed; residue left to bake on in the heat will just attract more dirt.
Step 6: Dry thoroughly
Remove your protective covers from electrical components. Use a leaf blower or compressed air to blast water out of gaps and corners. Follow with microfibre cloths on all accessible flat surfaces. Then start the engine and let it idle for 10-15 minutes to evaporate any remaining moisture from hard-to-reach areas.
Step 7: Dress the plastics and hoses
Apply a light plastic dressing or protectant to rubber hoses, plastic covers and unpainted trim. This restores the factory look and adds UV protection, essential given the intensity of the Australian sun. Wipe off any excess so it doesn’t look greasy or attract dust.
Read more: 10 most common car problems in used cars
Engine degreasing: when to go deeper
Standard cleaning handles surface grime, but engine degreasing is a heavy-duty approach for cars with serious oil build-up, old leaks or engines that haven’t been touched in years. Engine degreasing uses stronger solvent-based or concentrated water-based formulas that are left to dwell for longer and may require multiple passes.
For serious engine degreasing jobs, particularly on older diesels or performance engines with baked-on carbon, consider a two-step approach: a first pass to break down the bulk of the contamination, followed by a second application targeting stubborn spots. Let each pass dwell fully before rinsing. A quality engine degreaser used correctly will restore almost any bay to a presentable standard.
Watch out: Avoid petroleum-based degreasers on painted engine bays or on rubber hoses, as these can cause premature cracking and paint lift. Always check the label for surface compatibility before applying.
How to tune a car engine after cleaning
A clean engine bay is a perfect starting point if you plan to tune a car’s engine or perform any performance work. With grime clearly away, you can see exactly what you’re working with- no hidden leaks masking boost pressure loss, no oil contamination near sensors, and no guessing whether that gasket has been weeping for months or years.
After a thorough engine bay clean, check the condition of your air filter, inspect the intercooler pipes for cracks, and examine the condition of the spark plug leads and injector wiring. These are the first things a performance tuner will look at, and having them clean and visible saves time and money at the workshop. Whether you’re after a simple ECU remap or planning a full engine build, a clean bay is always the first step in properly tuning a car’s engine.
Conclusion
Knowing how to clean your engine bay is one of those skills that pays off every time you open the bonnet, whether you’re checking fluids on a road trip, preparing to tune a car engine or getting ready to sell. Invest in a good engine cleaner, take your time with engine degreasing steps, and your car will reward you with a bay that looks as good as the day it left the factory.
Comments
New Comment