




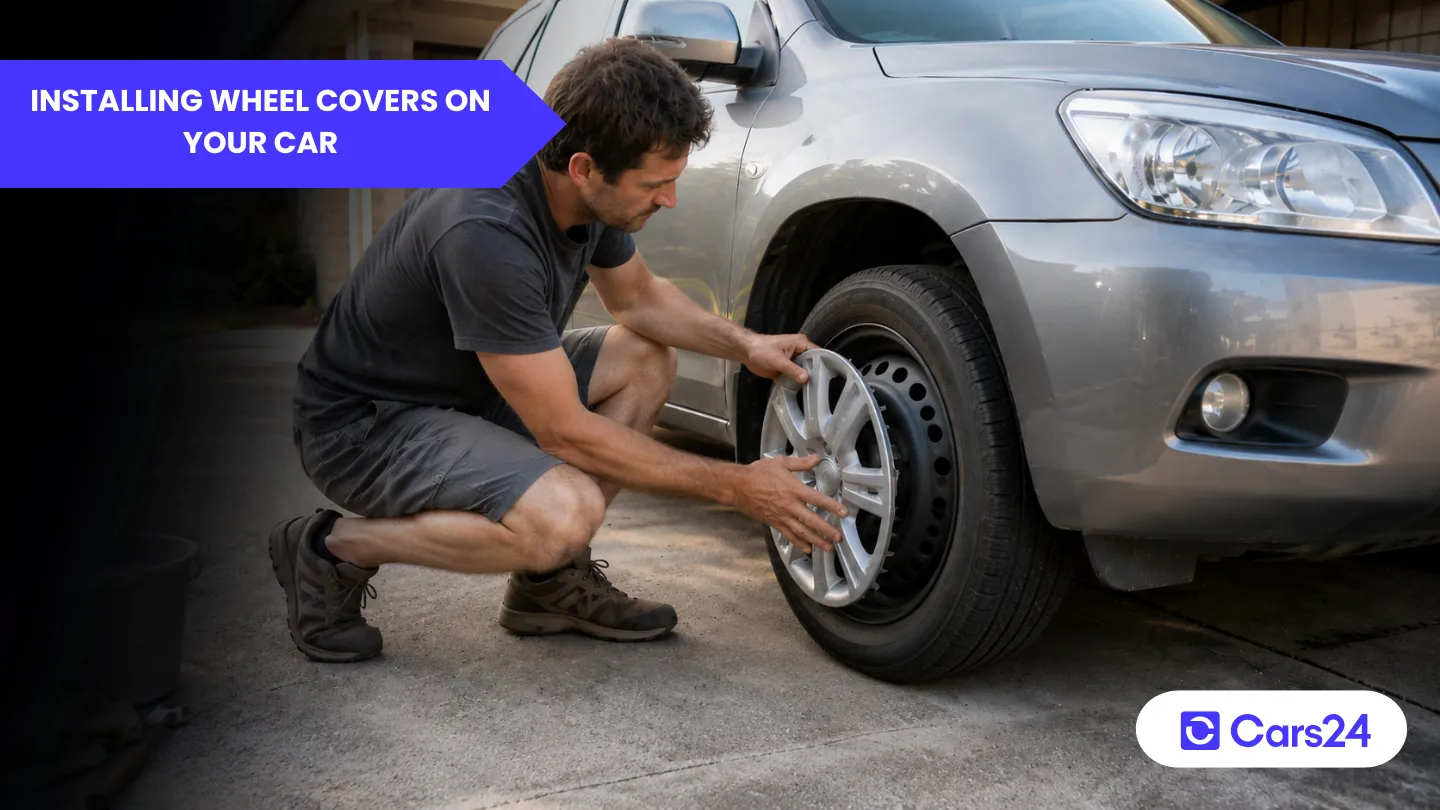
Most of us worry about the same two problems during car wheel cover installation: either snapping the plastic clips while fitting the cover or not securing it properly, and watching it fly off somewhere on the motorway.
Installing wheel covers is usually straightforward once you understand the fitment and retention system. Properly fitted wheel covers improve appearance, protect steel wheels and can slightly improve aerodynamic efficiency.
Let’s quickly go through some easy steps to choose and install wheel covers on your car like a pro.
What are wheel covers, and why would you use them?
Wheel covers (or hubcaps) are the decorative plastic discs that snap onto (usually) black steel car wheels and make your car look like it has alloy wheels. Your car will drive the same without them, but wheel covers help protect steel wheels from dirt and corrosion while improving appearance at a relatively low cost.
What are EV aero wheel covers?
EV aero wheel covers are flat snap-on plastic wheel covers fitted over alloy wheels on electric cars like the Tesla Model 3, Tesla Model Y and MG4 EV. They reduce aerodynamic drag at highway speeds to improve driving range while also protecting alloy wheels from minor scratches.
How to choose the right wheel covers for your car?
You can choose car wheel covers by matching your tyre’s size number (e.g. 205/55R16 = 16-inch rim), lug nut count and wheel retention type. You should also verify exact make and model compatibility before buying.
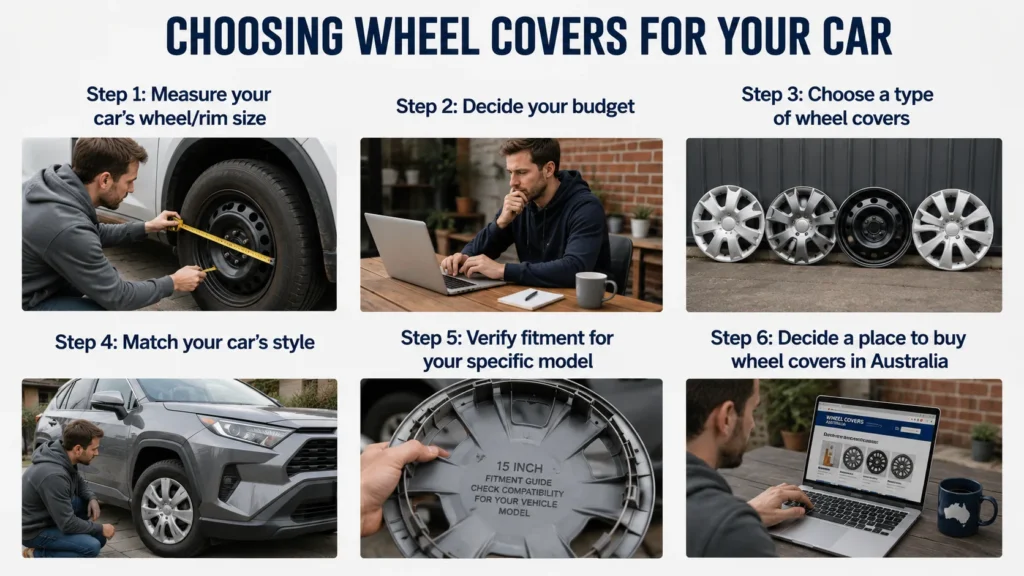
Step 1: Measure your car’s wheel/rim size
Wheel covers are sized by inches, matching your car’s tyre size. Look at the sidewall of your tyre. You’ll see a sequence like: 205/55R16. The last number is your wheel diameter in inches. In this example: 16 inches. Also count the lug nuts, as some wheel covers require matching cut-outs.
Note the existing wheel cover retention system (if you have one): metal wire clips, plastic tabs, or screws. You might need to buy genuine replacements or covers with adjustable retention rings.
Step 2: Decide your budget
Avoid extremely cheap wheel covers if possible. Cheap universal plastic ($20-$40 for a set of 4) is thin, brittle, and may crack within 6-12 months. Decent-quality aftermarket or genuine OEM replacement ($100-$200 for a set of 4) has good plastic, strong retention, is often clear-coated, and can last 5-10 years.
Step 3: Choose a type of wheel covers
| Type | What it is | Best for | Pros | Cons |
|---|---|---|---|---|
| Full-face cover | Covers the entire steel wheel | Most modern cars (post-2010) | Clean look, protects rim edge | Can trap dirt and moisture |
| Bolt-on cover | Attaches with screws through the lug nuts | Older cars, 4WDs, commercial vehicles | Extremely secure | Requires removing lug nuts to install |
| Universal clip-on | Uses spring steel clips or plastic tabs to attach | Most aftermarket replacements | Easy to install | Can loosen over time and fly off |
| Wheel skin/Full wheel cover | Thin plastic shell covering the full wheel face, even lug nuts | Rental fleets, taxis | Cheap, easy to clean | Looks cheap, traps moisture, promotes rust |
| Hubcap-only (centre cap) | Small disc that only covers the central hub | Cars with painted steel rims | Minimalist look, cheap | Doesn’t protect the rim edge |
Step 4: Match your car’s style
Choose wheel covers that match your car’s overall styling. Match the car’s existing trim level. Silver or black finishes with simple spoke patterns usually suit most modern hatchbacks, sedans and SUVs. Avoid cheap chrome-look finishes, as prolonged exposure to the Australian sun can cause peeling and cracking over time.
Moreover, in the harsh Aussie sun, cheap chrome-look plastic covers will peel and crack within 2 years. Go for painted silver or black. They hold up far better.
Check that the plastic feels sturdy and that the retention clips are firmly attached.
Step 5: Verify fitment for your specific model
Even with the right size (e.g., 16-inch), not all covers fit all wheels. Steel wheels can have different retention ridge designs. Buy covers that list your exact car make, model, and year, not just size. eBay and Amazon listings often have fitment guides.
Used genuine factory wheel covers from wreckers can also provide better fitment than universal aftermarket options.
Step 6: Decide a place to buy wheel covers in Australia
| Seller | Best for | Notes |
|---|---|---|
| Supercheap Auto | Mid-range universal covers | Nationwide, can see in person |
| Repco | Mid-range universal covers | Nationwide |
| Autobarn | Budget to mid-range | Nationwide |
| eBay Australia | Cheap universal or genuine take-offs | Check seller ratings. Sort by “Australian sellers” to avoid long shipping |
| Facebook Marketplace | Used genuine covers | Meet in person. Check for cracks |
| Car wreckers/Auto dismantlers | Used genuine covers | Perfect fit, OEM quality. Call ahead |
| Dealerships parts counter | Brand new genuine | Expensive but perfect |
We recommend going to physical retailers as they let you inspect clip quality and fitment before purchase.
Readers also asked: When should I change my car’s tyres?
How to install wheel covers on your car (step-by-step)?
Installing wheel covers involves cleaning the steel wheel, aligning the valve stem correctly and pressing the cover evenly into place.
Step 1: Gather your tools
| Item | Why you need it |
|---|---|
| Your new wheel covers | Obviously |
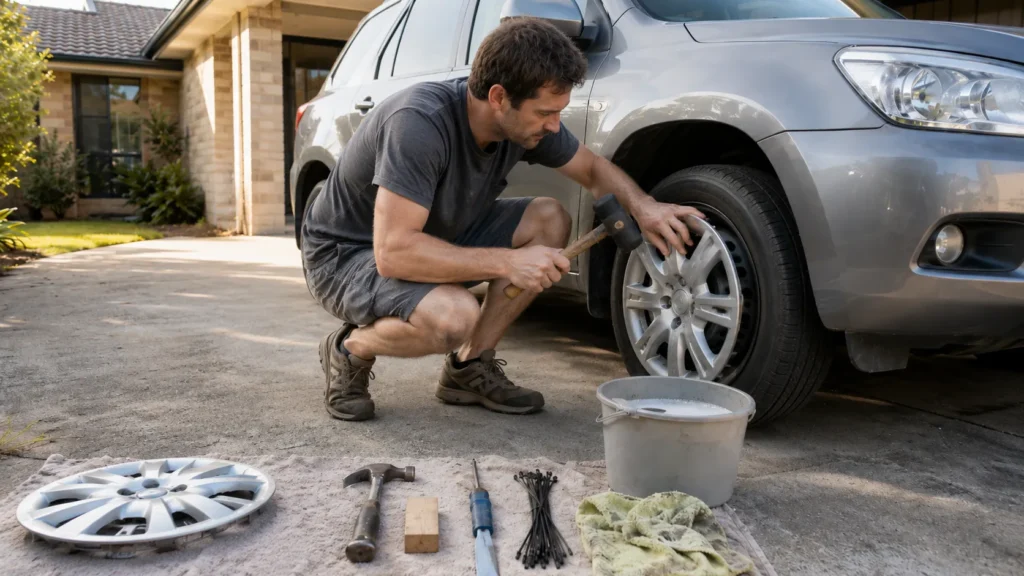
| A rubber mallet (or a block of wood + regular hammer) | To tap covers into place without cracking them |
| A flathead screwdriver (wrapped in tape) | To pry off old covers or adjust clips |
| A rag or an old towel | To clean the steel wheels underneath |
| Zip ties (small, black) | Optional, but highly recommended to prevent loss |
| A bucket of water & car soap | To clean the wheels first |
| Your car’s jack (optional) | Makes access easier, but not essential |
Tip: Install covers on a warm day (not cold). Plastic is more flexible when warm.
Step 2: Prepare your car
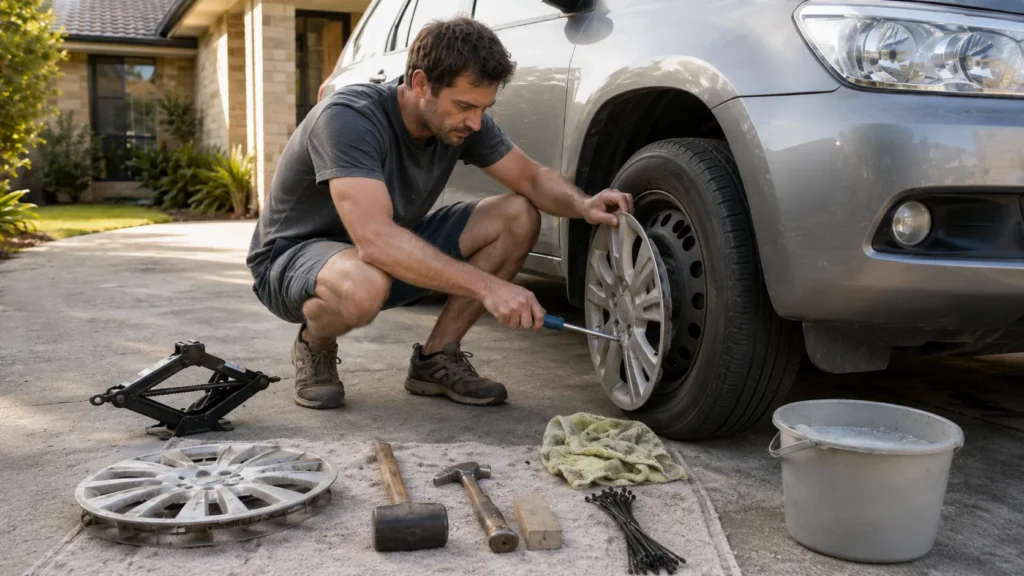
Park on a flat, level surface and engage the handbrake firmly. Avoid installing wheel covers on steep slopes.
Remove the old covers (if you have them). Use your taped screwdriver or a plastic trim tool to gently pry between the old cover and the steel wheel and pop the cover off.
Step 3: Clean the steel wheels
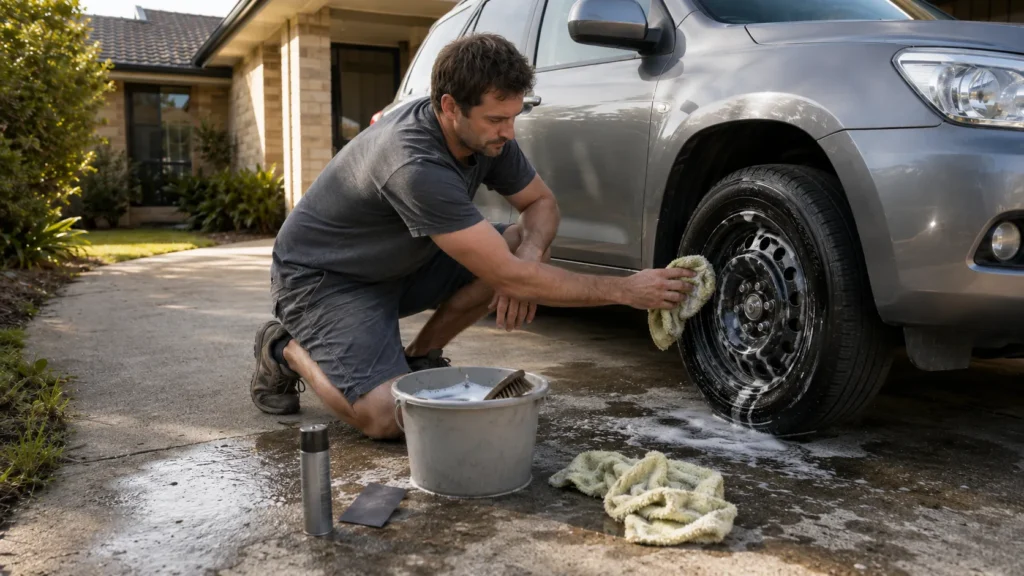
Hose off loose dirt, scrub with soapy water and dry the steel wheels thoroughly. Remove any loose dirt or surface rust before installation.
Sand off a flaking, bubbling rust lightly with sandpaper, then spray with a rust converter or matte black paint before installing covers.
A clean wheel holds covers better. Grit prevents clips from seating fully, and a cover that’s not fully seated will fly off.
Step 4: Install the wheel covers (3 methods)
Test-fit one cover on a wheel before you do all four. It’s easier to return a set if one doesn’t fit.
Method A: Standard clip-on installation (most common)
Align the cover with the valve stem, then press it onto the wheel by hand, working around the edge until the clips click into place. Use a rubber mallet to lightly tap around the outer edge so the cover seats evenly. Check for any sections sticking out and tap again if needed. Roll the car slightly or spin the wheel if raised, then recheck the fit.
Method B: Bolt-on covers (for 4WDs, older cars, or commercial vehicles)
Common on older cars, 4WDs, and commercial vehicles.
- Remove one lug nut at a time
- Position the cover over the lug studs
- Refit and hand-tighten the lug nuts
- Torque to manufacturer specifications
Never drive with loose bolt-on covers, as they can loosen lug nuts or warp the cover.
Method C: Wire clip covers (older cars and some European models)
Found on some older Volkswagen, BMW, and Mercedes-Benz models.
Fit the wire clip ring first, then press the cover into place until it clicks. Some designs also require a slight twist to lock. Recheck all covers after a week and inspect behind one cover after a month for moisture or rust.
Readers also asked: How to fix a flat tyre?
How do you fix rattles and noise from wheel covers while driving?
| Noise type | Likely cause | Quick fix |
|---|---|---|
| Constant rattle at low speed | Cover not fully seated | Remove and reinstall. Tap firmly with a rubber mallet all around |
| Clicking that speeds up with the car | Zip tie tail rubbing on wheel or cover edge | Cut the tail flush with the ratchet head |
| Clunking over bumps | Loose cover (clips not engaged) | Push firmly on each section until you hear clicks |
| Scraping noise | Cover rubbing on the tyre sidewall | Cover is the wrong size or oriented wrong. Realign or return |
| High-pitched squeak | Dirt or grit between cover and steel wheel | Remove, clean both surfaces, reinstall |
FAQs about installing wheel covers
1. Will wheel covers scuff my car’s alloy wheel paint?
Typically, wheel covers are for steel wheels only. If you put a plastic cover over an alloy wheel, it will trap dirt and moisture and scuff and pit the alloy’s clear coat.
2. Are EV aero wheel covers different from normal hubcaps?
Yes. EV aero wheel covers are designed to reduce aerodynamic drag and improve efficiency at highway speeds.
3. Can I reuse mounting rings from old wheel covers?
Yes, if they fit. Test fit the ring on the wheel before installing the new cover. If it’s loose or won’t snap into the cover’s groove, buy a new ring.
4. How to install wheel covers on a Toyota?
- Clean the steel wheel.
- Align the valve stem hole on the cover with the tyre’s air valve.
- Press the cover onto the wheel by hand.
- Press the cover around firmly until you hear clicks.
- Tap the outer edge with a rubber mallet to fully seat.
- Add zip ties for security (optional).
5. Do I need to add adhesive or silicone when mounting wheel covers?
No. Adhesives are not recommended for wheel cover installation. Use the factory retention system instead.

Comments
New Comment